+ Enable vim copy selection mode
+ Add various copy actions for middle, double, triple-click, etc.
+ Add instructions to README to install required tmux plugins
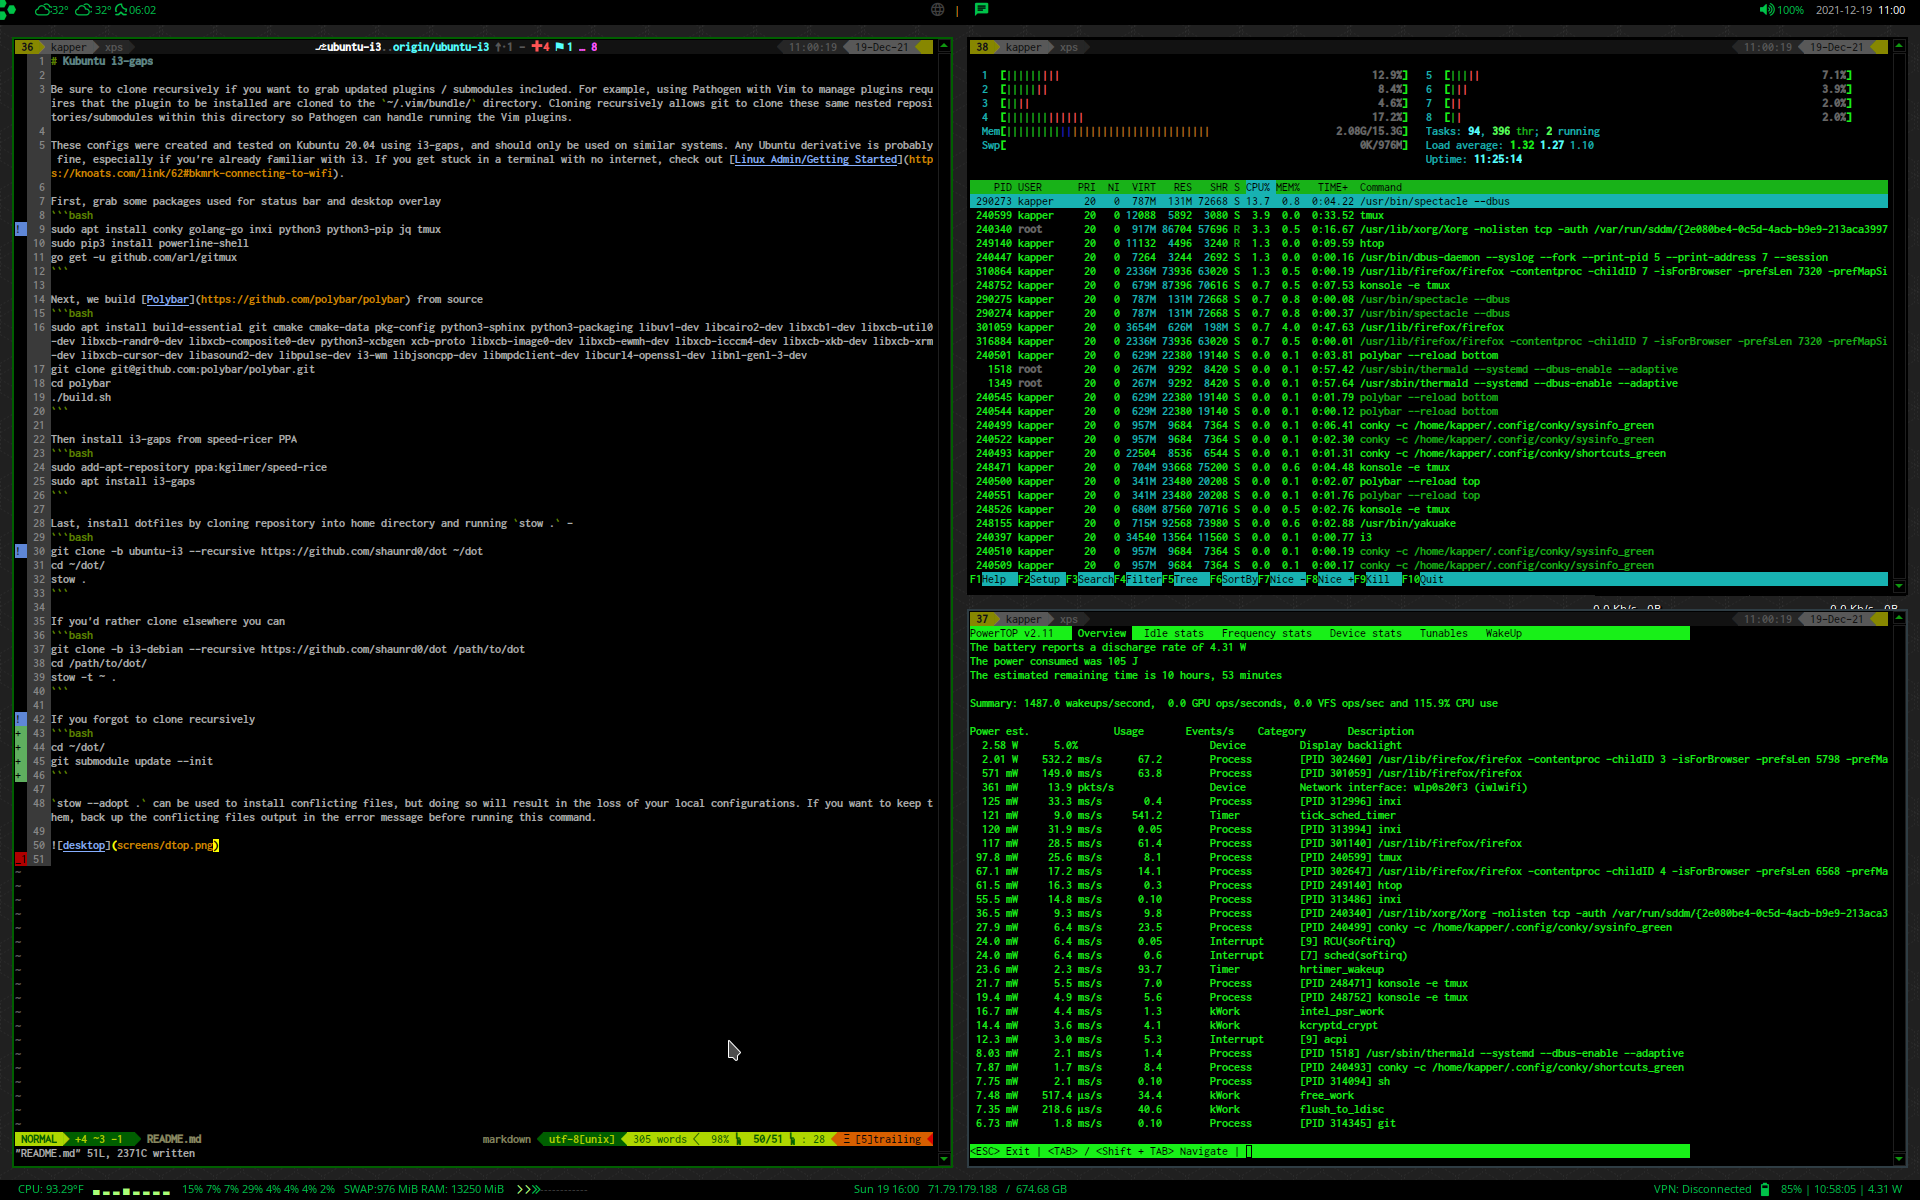
Kubuntu i3-gaps
Be sure to clone recursively if you want to grab updated plugins / submodules included. For example, using Pathogen with Vim to manage plugins requires that the plugin to be installed are cloned to the ~/.vim/bundle/ directory. Cloning recursively allows git to clone these same nested repositories/submodules within this directory so Pathogen can handle running the Vim plugins.
These configs were created and tested on Kubuntu 20.04 using i3-gaps, and should only be used on similar systems. Any Ubuntu derivative is probably fine, especially if you're already familiar with i3. If you get stuck in a terminal with no internet, check out Linux Admin/Getting Started.
Install Dependencies and Dotfiles
First, grab some packages used for status bar and desktop overlay
sudo apt install conky golang-go inxi python3 python3-pip jq tmux xbindkeys xautolock pulsemixer xsel
sudo pip3 install powerline-shell
go get -u github.com/arl/gitmux
Next, we build Polybar from source
sudo apt install build-essential git cmake cmake-data pkg-config python3-sphinx python3-packaging libuv1-dev libcairo2-dev libxcb1-dev libxcb-util0-dev libxcb-randr0-dev libxcb-composite0-dev python3-xcbgen xcb-proto libxcb-image0-dev libxcb-ewmh-dev libxcb-icccm4-dev libxcb-xkb-dev libxcb-xrm-dev libxcb-cursor-dev libasound2-dev libpulse-dev i3-wm libjsoncpp-dev libmpdclient-dev libcurl4-openssl-dev libnl-genl-3-dev
git clone git@github.com:polybar/polybar.git
cd polybar
./build.sh
Build Brightnessctl from source and configure your user permissions for brightness control
git clone https://github.com/Hummer12007/brightnessctl
cd brightnessctl
sudo ./configure && sudo make install
sudo usermod -aG video <YOUR_USERNAME>
Then install i3-gaps from speed-ricer PPA
sudo add-apt-repository ppa:kgilmer/speed-ricer
sudo apt install i3-gaps
Last, install these dotfiles to configure all of these applications by cloning repository into home directory and running stow . -
git clone -b kubuntu-i3 --recursive https://github.com/shaunrd0/dot ~/dot
cd ~/dot/
stow .
If you'd rather clone elsewhere you can
git clone -b kubuntu-i3 --recursive https://github.com/shaunrd0/dot /path/to/dot
cd /path/to/dot/
stow -t ~ .
If you forgot to clone recursively
cd ~/dot/
git submodule update --init
After the dotfiles have been installed using stow, you should run tpm to ensure tmux plugins are all installed according to the tmux.conf settings provided. Assuming you don't want to face errors for dependencies related to tmux shortcuts defined in .tmux.conf, this is a required step to configure these dotfiles. Alternatively, you could provide your own .tmux.conf that does not use plugins to avoid this step, or just use the default .tmux.conf instead.
~/.tmux/plugins/tpm/bin/install_plugins
Additional Configuration
stow --adopt . can be used to install conflicting files, but doing so will result in the loss of your local configurations. If you want to keep them, back up the conflicting files output in the error message before running this command.
Installation of clang for clang completion
If you don't want clang completion, just remove the plugin directory from ~/.vim/bundle/.
If you don't remove clang completion and skip the following steps, vim will show errors when opening source code files. This is because these configurations use clang completion for so urce code auto completion and drop-down menus within vim.
Note that the printf command may take some time to finish, since it is searching your syst em for a needed file.
sudo apt install clang
printf "export LIBCLANG=\""$(find /usr/ -name libclang.so.1 2>/dev/null)"\"\n\n" >> .bash_al  iases
echo "let g:clang_library_path=\$LIBCLANG" >> ~/.vimrc
source ~/.bashrc
To configure tap to click on laptop touchpads, run the following commands
sudo mkdir /etc/X11/xorg.conf.d
sudoedit /etc/X11/xorg.conf.d/90-touchpad.conf
And input the following lines into the 90-touchpad.conf file. Save, exit, then run sudo pkill -KILL -u <YOUR_USERNAME> to logout of your user and log back in to apply the changes.
Section "InputClass"
  Identifier "touchpad"
  MatchIsTouchpad "on"
  Driver "libinput"
  Option "Tapping" "on"
EndSection
Optionally, you can also modify the following keybinds in .xbindkeysrc. I wrote some addiitonal comments in the file and also you can check out Linux Admin/i3 for more help if needed.
# SETUP INSTRUCTIONS:
# Run `xbindkeys --key` and press a key to get the output
# Place the output under the correspondng action to trigger for that key press
# Useful for configuring media keys for laptops; They all differ
# These settings are for a Dell XPS 13 9310

#Volume Up
"pactl set-sink-volume @DEFAULT_SINK@ +10%"
  m:0x0 + c:123
  XF86AudioRaiseVolume

#Volume Down
"pactl set-sink-volume @DEFAULT_SINK@ -10%"
  m:0x0 + c:122
  XF86AudioLowerVolume

#Toggle Audio
"pactl set-sink-mute @DEFAULT_SINK@ toggle"
  m:0x0 + c:121
  XF86AudioMute

#Brightness Up
"brightnessctl s +2.5%"
  m:0x0 + c:233
  XF86MonBrightnessUp

#Brightness Down
"brightnessctl s 2.5%-"
  m:0x0 + c:232
  XF86MonBrightnessDown
